Introduction
GitHub allows all developers to share their projects by publishing their development codes, all in the most good open source policies. This thanks to the integration of the GIT version control system (developed by Linus Torvalds).
In addition, these projects can be stored and viewed on the server, with a good version management. It is also very easy as your acknowledgment of the changes made over time. With time, Github has become a fundamental tool for developers who share the same projects, allowing you to exchange messages, manage wiki, make bug-tracking and many other things, not to mention a degree of visibility of its work.
Creating Public Repository
The creation of a repository is free and simple to do. It is divided into these three different steps:
- Registering an account on GitHub
- Installing and configuring Git
- Creation of the repository
If you work on Linux or Mac, you can work directly from the terminal, while if you work on Windows you can do it via git bash.
Registering an account on GitHub
In order to use GitHub you must first register. So first you need to access the login page of GitHub (see here).

On the left enter your credentials and pressing Sign Up.

You will enter a new page, do not change anything. By default the setting is free, in which all repositories are public (all that you publish will be visible to everyone). The paid version allows you to use GitHub to manage their projects and source codes privately (not accessible to the other) and then publish the public release when desired (if you prefer this option go ahead).
Press Continue. Then you’ll get a survey, you can choose whether to fill it or go ahead.
Well now you have created an account on GitHub.
Installing and configuring Git
GitHub is based on the Git system for file synchronization. So to proceed further you will need to install Git on your system.
On Linux system as Debian and Ubuntu, open a terminal session and enter:
apt-get install git
On Mac
yum install git
On Windows
Download the Git For Windows software from the official page.
Creating the repository on GitHub
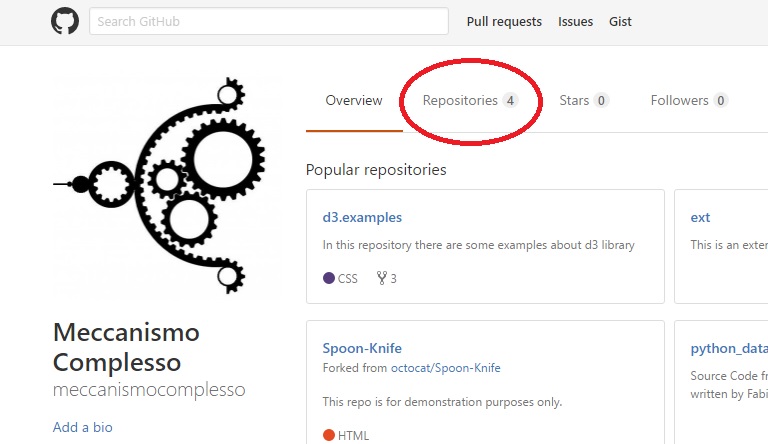
For each project you want to achieve, the most correct thing you can do is to create a repository on GitHub correspondent. To do this, log on GitHub, and open the page clicking on the Repositories page.
In the repositories page you will find a New button. Click on it to create a new repository.

Then GitHub will ask you the name of the repository that you want to create, with an additional field where you can enter a brief description.

Finally press Create Repository to create the repository on the server.
Now you will need to fill the repository with the first file and create a corresponding directory on your computer.
Create a directory on your computer (if it does not already exist) with the project name (which should match the name of the repository).
mkdir repositoryname
cd repositoryname
Then he begins with the creation of the first file (which you will modify as you wish) called README.md and then initializes a git repository corresponding to the content within the directory.
echo "#projectname" >> README.md
git init
git config user.name "username"
git config user.email "usermail@gmail.com"
git commit -m "first commit"
Finally connect the local repository with that of the GitHub server.
git remote add origin https://github.com/nomeutente/nomerepository.git
git push -u origin master
Now the repository on GitHub is ready to receive all the files that you will develop.
Loading Source Code
Begin to fill the local directory with the source files and other files included in the project. Once finished, you can begin to load all the repository on GitHub, writing from the terminal the following commands.
git add *
git commit -m 'Update version x.x'
git push
To change or add a file in the repository using the add option along with the name of the file to add or change.
git add 'filenameToAdd.py'
While to delete it from the repository using the rm command always followed by the name of the file to remove.
git rm 'filenameToAdd.py'
You can enter a series of commands such as those above, but in the end, you launch a commit to make the changes required.
git commit -m 'Version Description'
git push
So long as you will not run the commit with the push, all changes made will not take effect in the repository. In fact, if finally you made a mistake and want to return to the file version of the repository, you can run a reset.
git reset -hard
Be aware though that if you launch this command all changes made will be lost.
If you want to track changes, versioning and their authors, you must visit the page