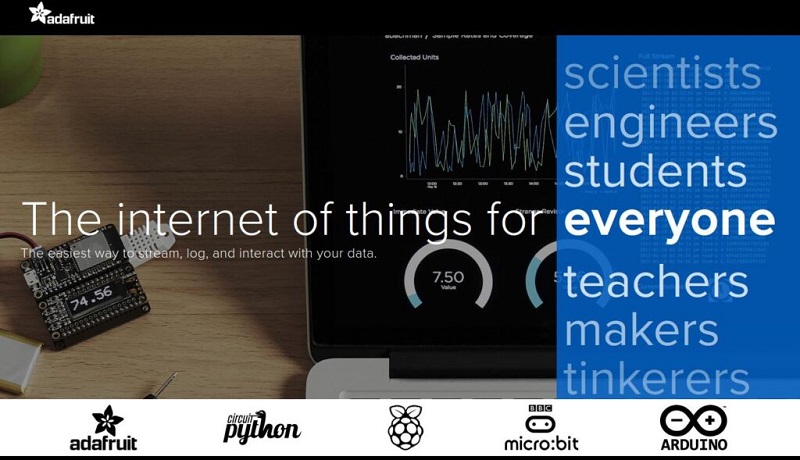
Many of our Arduino projects, especially the more complex ones, produce data that often needs to be stored and monitored remotely. What better way than to upload them via the web? In fact today with the advent of the IoT (Internet of Things) the web environment is not only a prerogative of HTML pages made to show information for humans, but also an excellent environment for exchanging data between networks of devices and sensors. connected to the network. Today this reality is widespread and there are many services available on the network, SaaS (Software as a Service), specialized precisely for IoT devices, including Adafruit IO.
What is Adafruit IO
Adafruit IO is a cloud service available on the network and with which it is possible to connect our devices, such as an Arduino board. Its main function is to store the data acquired by one or more boards connected to sensors, to show them both in real time and subsequently, but it can also perform other interesting functions.
In fact, this platform can be used to:
- show the data produced in real time online, using graphs and squares in a control panel (dashboard).
- remote control of devices (motors, sensors, etc.) via web or mobile phone using buttons inserted in the control panel (dashboard)
- connect your project to network services such as RSS feeds, IFTTT, mail, etc …
- Insert triggers that are activated when data values exceed certain thresholds, or at a scheduled time.
To access Adafruit IO, you must have an Adafruit account, or create one specifically on io.adafruit.com.
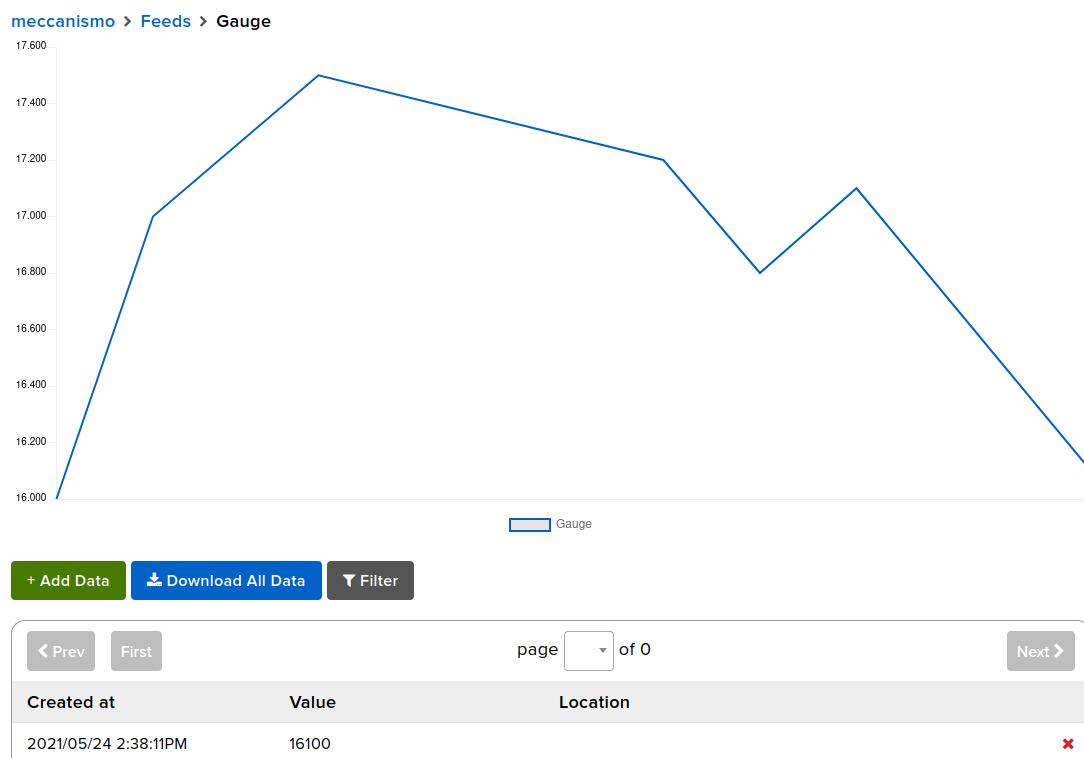
Feeds are the basis of how Adafruit IO works. These in fact manage the different data streams that the system is loading together with the corresponding metadata containing other useful information, such as the sensor that is producing them, the date and time, or the GPS coordinates of the data source.
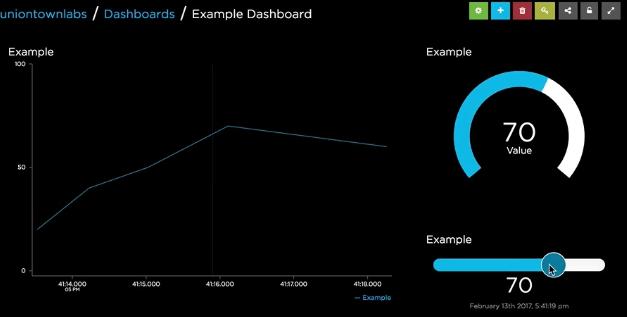
The feeds are then connected to the various graphic blocks to form the Dashboards, real control panels that are another important feature integrated into Adafruit IO. Bar graphs, switches, maps, scrolling texts, or other forms of visualization of your data, will be the blocks with which you will build your personal control panels that you can access from any browser, both from PC and from mobile.
As for hardware compatibility, Adafruit IO is a system compatible with many boards including those of Arduino. There are a series of libraries ready and downloadable from the site, which allow you to connect our cards with Adafruit IO through the most common connection interfaces such as WiFi (ESP8266, ESP32, WINC1500, and WICED), Ethernet, or Cellular.
Adafruit IO Arduino Library
To facilitate the operation of connecting to the network with Arduino boards, Adafruit provides the Adafruit IO Arduino Library.

This library allows us to use the following network connection devices that can be connected to Arduino:
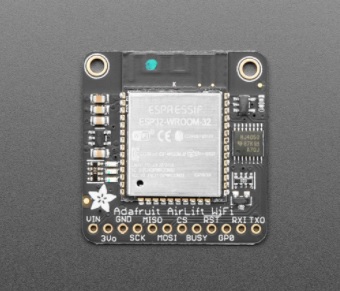
- Adafruit AirLift: an external module provided by Adafruit, to be connected to Arduino and to be able to connect to the WiFi network
- ESP8266: low cost WiFi chip
- ESP32: low cost WiFi
- ATWINC1500: chip WiFi
- WICED: WiFi technology
- Ethernet
- FONA: Mini Cellular GSM
The library can be easily installed through the Arduino Library Manager. From the Arduino IDE menu select Sketch -> Include Library -> Manage Libraries .. and the following window will appear. Select the Adafruit IO Arduino library and start the installation. Same thing to install any updates that will be released later.

If you want to do everything yourself, you can download the Adafruit IO Arduino Library directly from GitHub and then install it manually.
Dashboard
Once you have logged into Adafruit IO as your personal user, a screen appears with all the dashboards we have created.

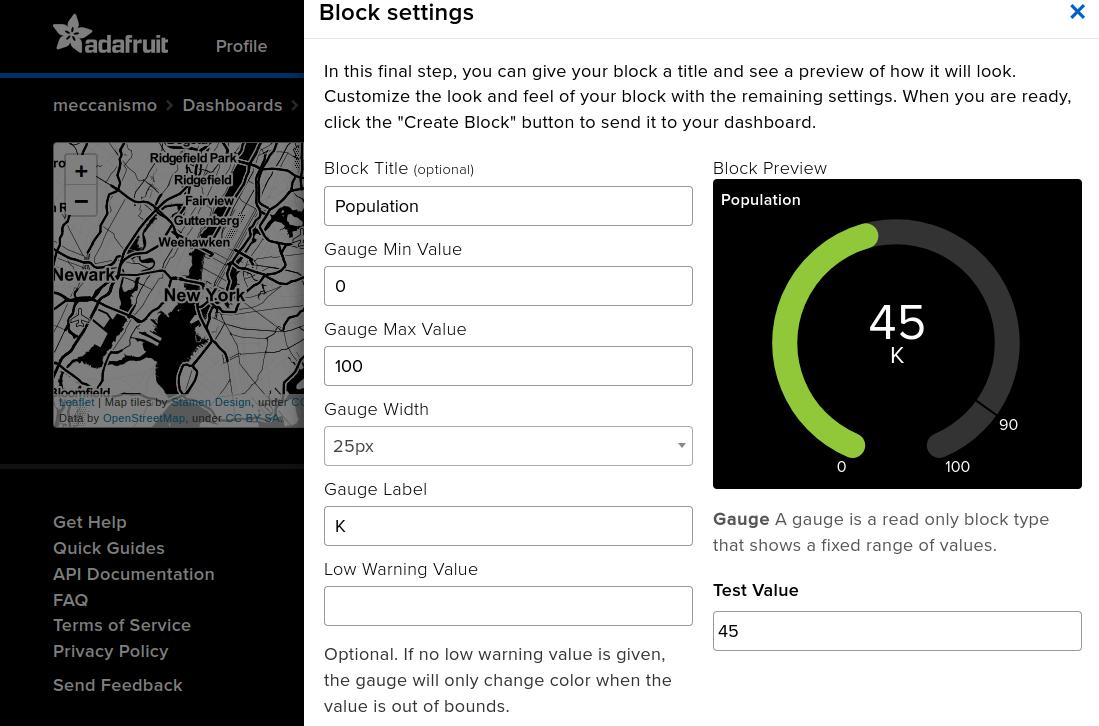
By selecting the desired dashboard or pressing the New Dashboard button, you access the editor, where you can edit and add blocks to our dashboard. These blocks are nothing more than different ways of visualizing our data in the form of graphs, graphs or gauges of different shapes and functions.

There are therefore different types of blocks, each of them with different functions. Select the one that suits you best and configure its features according to your needs.
And so on, block by block you will create your own control panel, which will then be available on the network when completed. You will then have a real control panel with a lot of viewers, indicators and buttons, accessible from any browser, even from a mobile phone.
Feeds
Once the controls have been created on our dashboard, it will be necessary to create feeds that manage the inflow of data remotely and display them through the control in real time.
Other services
Once you have entered all the quardants (blocks) in the control panel (dashboard) you can use other services such as Triggers. These are very useful automatisms, since they are used to independently monitor some data flows. When a particular event occurs (a value exceeds a certain maximum or minimum threshold for example), an event can be triggered, such as sending a stop command to a device, an email to an email address, or activation of a device, etc. Triggers can also be scheduled. That is, instead of being triggered by a particular event, you can enter a precise date and a precise time, in which this must be activated.
Other services available are IFTTT and Zapier, very useful for publishing data on the network and which can be interfaced with the Adafruit.IO platform.