
Introduction
This article will begin to make the first steps with the OpenCV library. You will learn how to load an image and display it.
In order to follow the examples in this article you must have installed opencv library for Python. For those who have not yet done so I highly recommend to follow the instructions in the following article:
The following examples were all run on Raspberry Pi Model B 3
Initial Testing
Before you begin, you should test whether the OpenCV library is properly installed on your system. If you followed the installation by following the instructions in the article mentioned in the introduction, at first you can start the virtual environment cv.
If all goes well you should be imported without any problem the library OpenCV in a Python session.
$ source ~/.profile
$ workon cv
(cv) $ sudo python
 import cv2
First approaches to image processing: load and display an image
First, mainly because OpenCV works on the pictures, it is important to you to know how to load them in a program in Python, and then manipulate them again and finally view them to see the results.
NOTE: If you try to work launching from command line session per line, you will notice the unusual behavior: some commands do not respond as they should do. For example, you will soon discover that the windows containing the images will not close, at least if not interromperai the Python session with Ctrl + Z. These abnormal behaviors rather not happen if you work directly on the execution of scripts in Python. So I suggest you work on the code of the samples directly by writing it to a file and then run them through the python command.
Then open a file with any text editor, and save it as opencv01.py.
$ nano opencv01.py
The first thing you need to do is reading the file containing the image from the OpenCV library, and you can do this using the imread () method. This method reads the file in a compressed format such as JPG and translate it into a data structure made of numerical matrix corresponding to color gradations and position.
import cv2 as cv
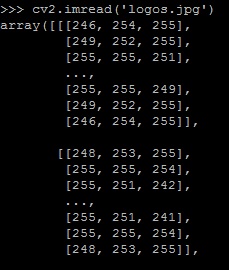
img = cv.imread('logos.jpg')If you want to touch, open a session in parallel and check the output value from cv.imread (or directly the img content). You will notice an array of arrays, each corresponding to a specific position of the image, and each characterized by numbers between 0 and 255.
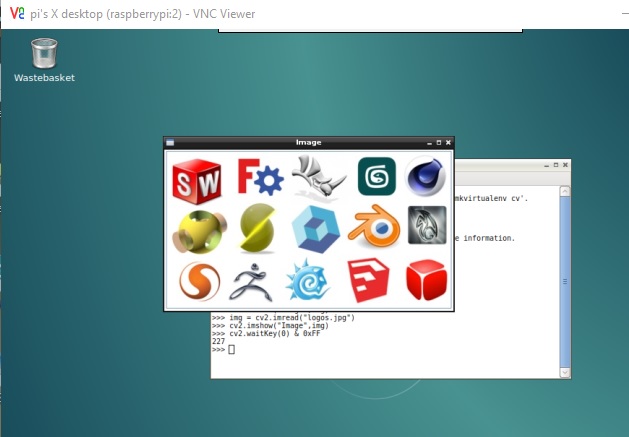
Continuing with the code, now you will use the imshow() method to create a window with the image loaded in the variable img. This method takes two parameters, the window name, and the image variable. Once you have created the window, you can see using the waitKey() method.
cv.imshow('Image', img)
cv.waitKey(0)
The small program is over. Save the file and launch the execution.
$ python opencv01.py
As soon as the program is executed, the window will appear with the image inside. The window closes at the touch of any key or by manually closing.
The waitKey() method starts the display of a window and also allows you to control the waiting time of the program before continuing with the next command. In the example you used as an argument to 0. This means that the wait will be infinite as long as you press any key on the keyboard.
If you wanted to keep open the window only for a specific period of time, then you should write the number of milliseconds as a parameter. Try to replace the value in the program, for example 2000, that is two seconds and run the program.
import cv2 as cv

img = cv.imread('logos.jpg')

cv.imshow('Image', img)
cv.waitKey(2000)
The window with the image should appear and then disappear after only two seconds.
However, for more complex examples it is useful to have direct control on the closure of a window, without the use of waiting times. The destroyWindow() method allows you to close the desired window (could be several open) by specifying as argument the name of the window which in your case is “Image”.
import cv2 as cv

img = cv.imread('logos.jpg')

cv.imshow('Image', img)
cv.waitKey(2000)
cv.destroyWindow('Image')
If there are multiple windows open and want to close them all at once, you can use a single command, the call to destroyAllWindows() method.
Working with images
Now that you’ve seen how to view existing images in your file system, you can proceed to the next step: to process the image by performing any operation on it and save the result to a new file.
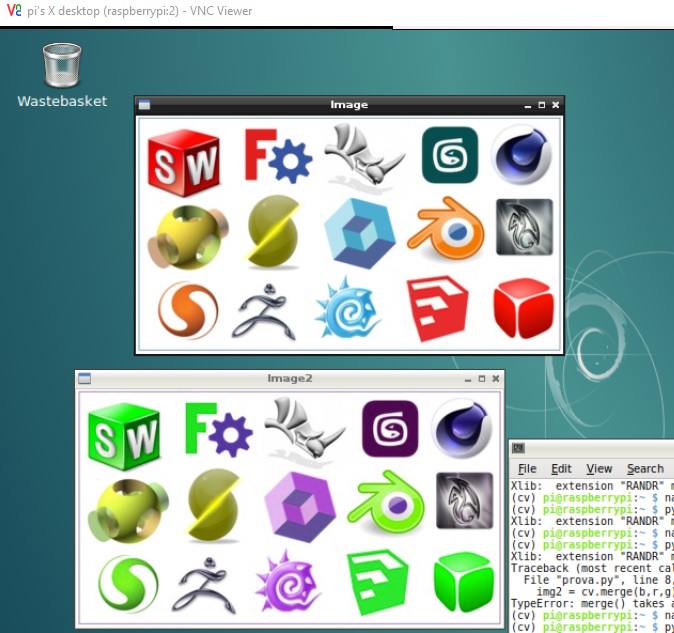
Continuing with the example above, you will use the same code. This time, however, you will perform a simple image manipulation, for example, by decomposing the three RBG channels. Then you will exchange them between them to form a new image. This new image will have all altered colors.
After loading the image Decompose in the three RGB channels. You can do this easily by using the split() method.
b,r,g = cv.split(img)
Now reassemble the three channels, but changing the order, for example by exchanging the red channel with the green channel. You can easily make recombination using the merge() method.
img2 = cv.merge((b,g,r))
The new image is contained within the img2 variable. Display it along with the original in a new window.
At the end of the code should be like the following.
import cv2 as cv

img = cv.imread('logos.jpg')
b,r,g = cv.split(img)
img2 = cv.merge((b,g,r))
cv.imshow('Image', img)
cv.imshow('Image2', img2)
cv.waitKey(0)
cv.destroyAllWindows()
By running the program, two windows appear, one with the original image and the other with altered colors.
Save the new image
Finally you just have to save your new image by saving the file system.
Add at the end of the program imwrite () method with the name of the new file that you want to save, which can also be of another format, such as PNG.
cv.imwrite('newlogos.png',img2)Run the program again and you will notice on the new file system image file.
conclusions
This very simple article, describes what is the first approach to the many features that OpenCV can offer, both in terms of analysis and image processing. You saw how to upload an image, edit it, display it and then save your work.
In the following articles the examples will be much more detail by analyzing additional functionality that the OpenCV library can offer.[:]