
La possibilità di poter disporre sul proprio sistema di una versione di Raspberry Pi OS (Raspbian), il sistema operativo progettato per lavorare con la famosa scheda Raspberry Pi, sta nel poter disporre di una Virtual Machine come Oracle VM Virtual Box. Questa applicazione, una volta installata sul proprio sistema (Windonws, MacOS o Linux) permette di poter disporre di diversi sistemi operativi racchiusi in questa Virtual Machine, tra cui proprio Raspberry Pi OS.
[wpda_org_chart tree_id=31 theme_id=50]
Installing Oracle VM Virtual Box
First, visit the official Oracle VM Virtual Box download page and download the application version consistent with your operating system.
By clicking on the link corresponding to your operating system, the installation package will begin downloading. In my case, which I am working from Windows, the current package is VirtualBox-7.0.12-159484-Win.exe. Install the application which will only take a few seconds and then launch the program.
Installazione di Raspberry Pi Desktop (Raspbian) nella VM
First, go to the official Raspberry page and download the latest version of Raspberry Pi OS Desktop (Raspbian).
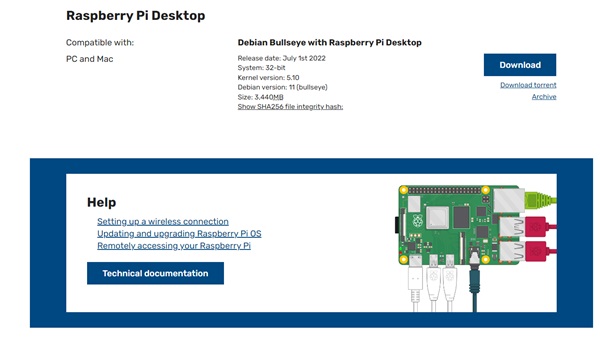
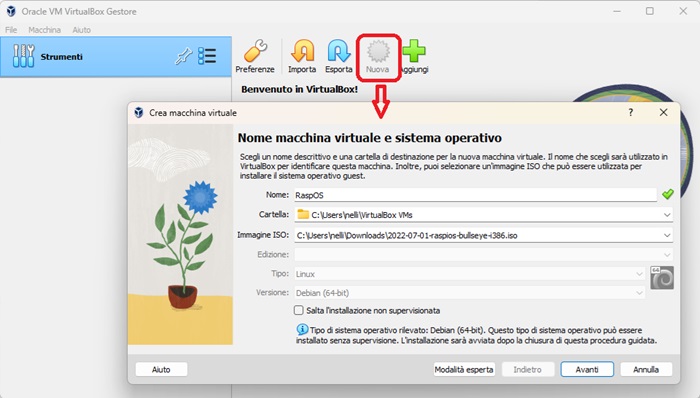
In my case I downloaded the 2022-07-01-raspios-bullseye-i386.iso package. In Oracle VM Virtual Box, press the New button and a panel will appear in which you will enter the name of the virtual machine to be created (in my case I called it RaspOS) and then select the ISO file you have just downloaded in the file system .
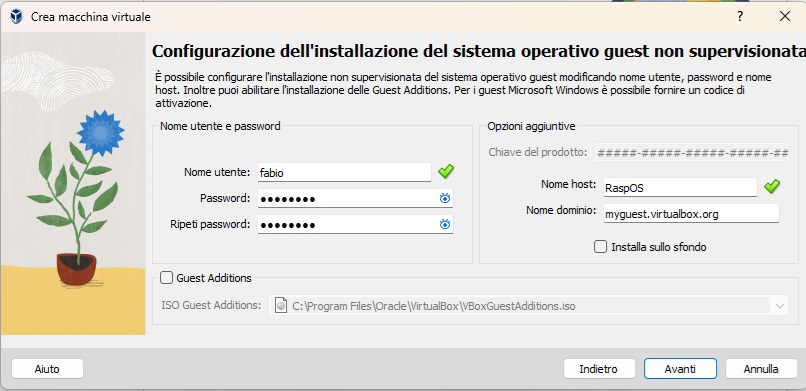
Press the Next button and set the username and password you want. You can also leave the default: vboxuser as the user and changeme as the password. Then press Next or Next.
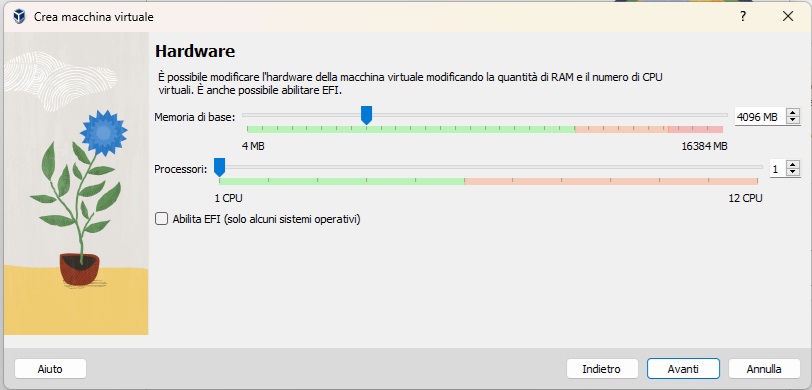
Then you will be asked to set the RAM to dedicate to the VM and the number of processors. I think 4GB and 1 processor are sufficient for my needs. You can modify it according to your needs. Press Next.
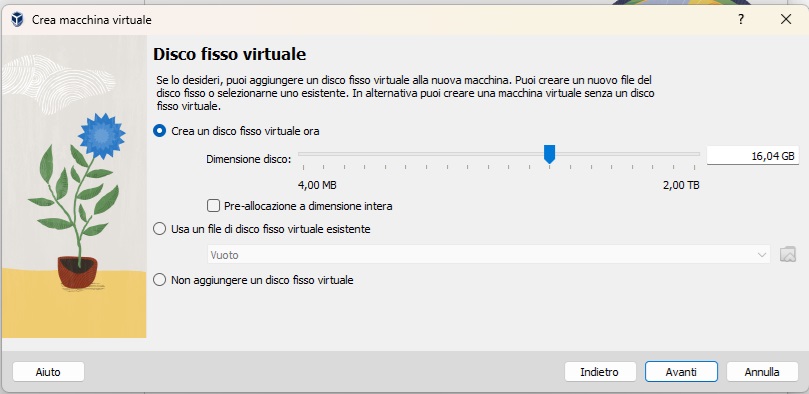
Now you will be asked to set the data storage space on the disk. In my case I think 16GB is more than enough. Here too, choose according to your needs.
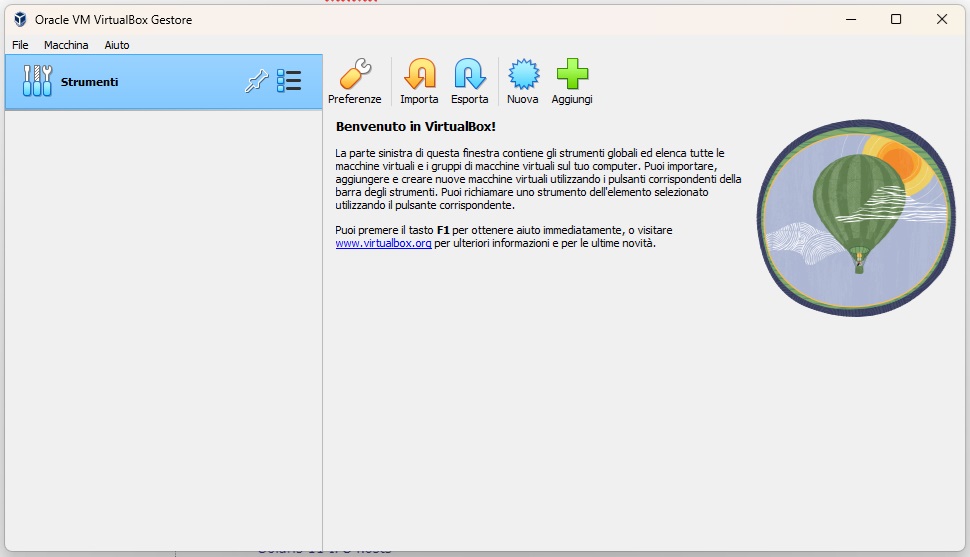
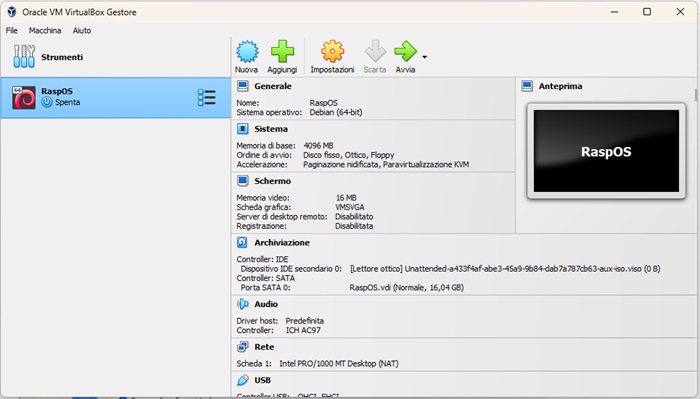
Below is a summary screen of the settings. Press Next (or Next) again and the image installation will be complete. On the Oracle VM Virtual Box application you will see a screen very similar to the following one.
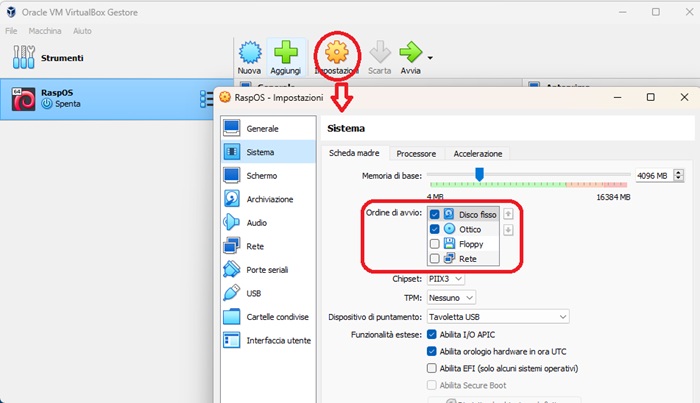
At this point, before starting the virtual box, we must set the sequence of reading drives during the boot phase. Press the Settings button and in the boot sequence, first set the hard disk and then the virtual CD drive, where virtually there is the ISO file with Raspberry Pi Desktop installed on it. Remove the floppy drive from the list (selected by default).
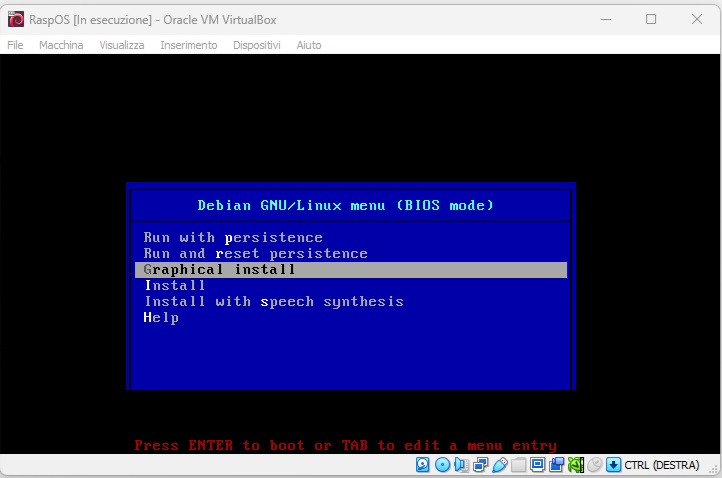
At this point we are ready to start the virtual box. Press the start button. After a few seconds the system installation menu screen will appear. Select Graphical Install.
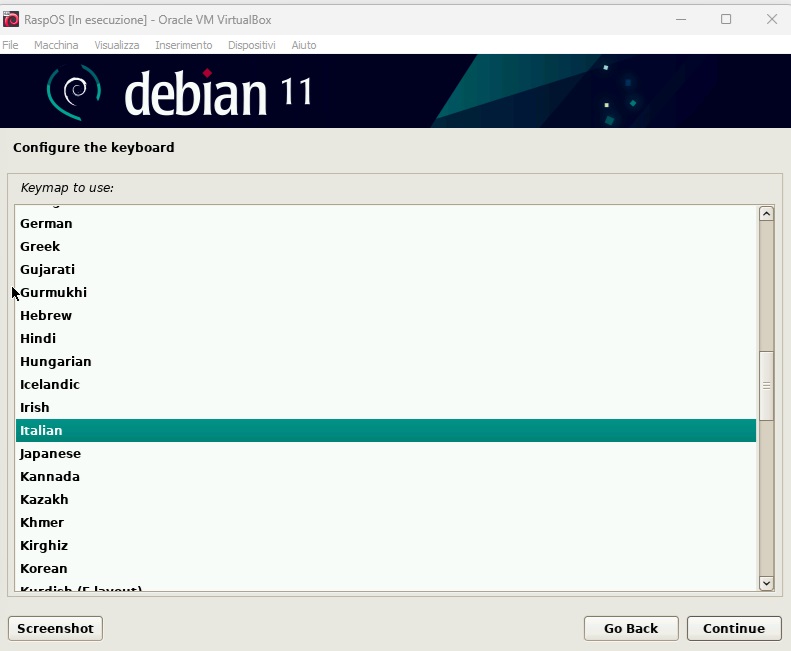
The graphically guided installation of the operating system will start. Follow the instructions during the installation process (keyboard language, partition creation, etc.).
First boot of Raspberry Pi OS from the Virtual Box
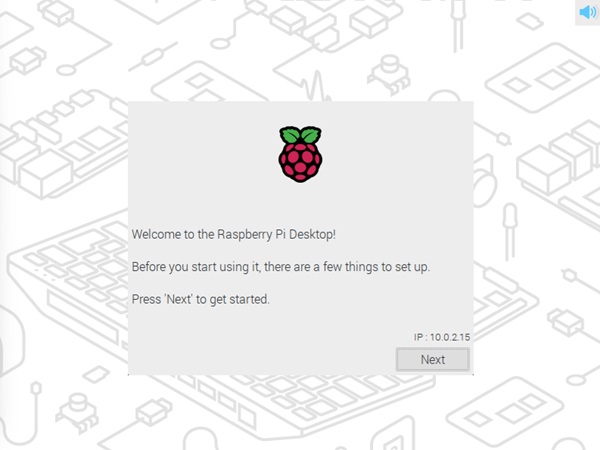
Once the installation process is finished (it will take several minutes), the job is not done yet. Since the following screen will appear when the virtual box reboots. This time the virtual machine is starting from the virtual Hard Disk, but since it is the first time, a Raspberry Pi Desktop settings will be requested. Press the Next button to proceed.
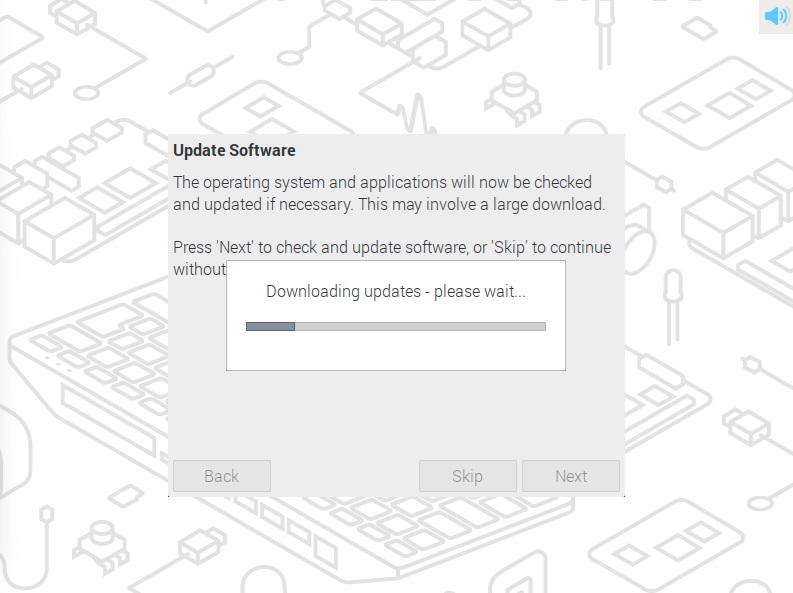
At this point the process will search for any network updates of the installed version. The process will also take a few minutes to download and install the updates found.
Eventually the system will restart and the Rasberry Pi OS Desktop will finally load with its classic screen with a sunset background (or a sunrise?).
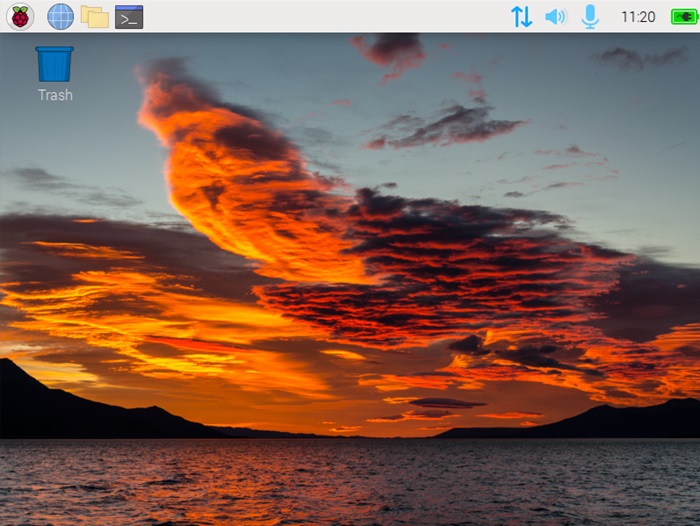
Now the system is finally ready to start working. Have fun or Good Work!