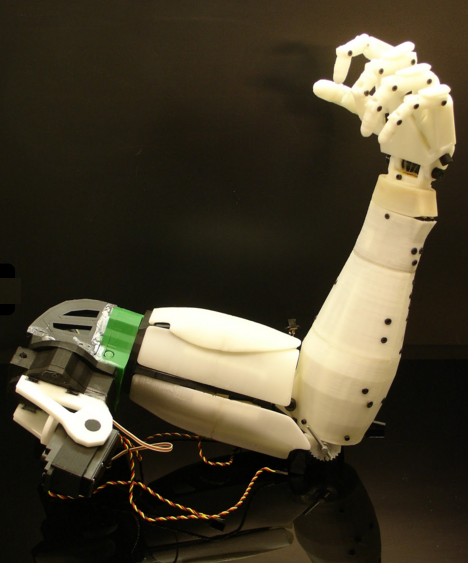
The InMoov project
InMoov is the first open source robot achievable with 3D printers.
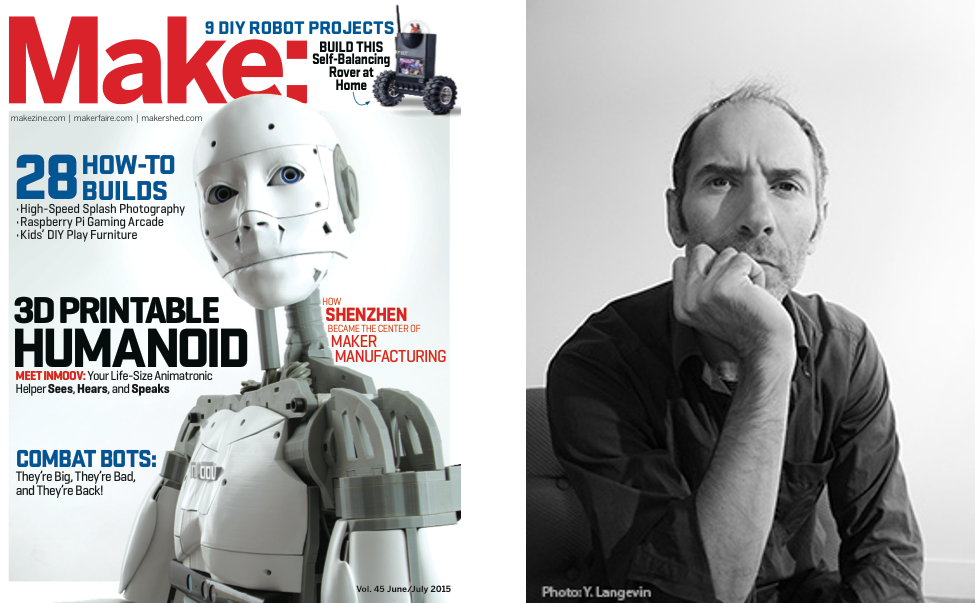
InMoov is a Gael Langevin’s project, a French sculptor and designer. His main idea was to be able to carry out a project, such as a robot, through cooperation and sharing of all those who are able to contribute in this area, working through a community of “builders”.
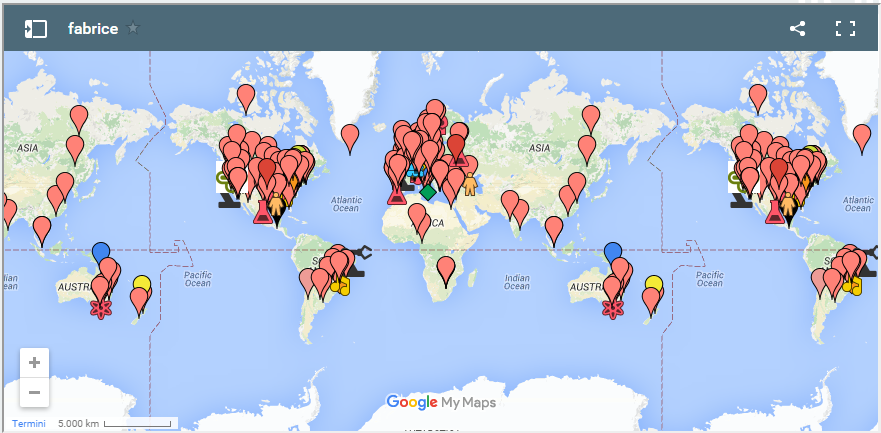
Thus, currently, the form of this project is nothing but the product of a considerable number of people, each of whom has contributed in his field of expertise, contributing to the InMoov project. In the official InMoov website, there is an interactive map (see Figure 2) where you can see the location of all the builders who have contributed or who are currently participating in the project.
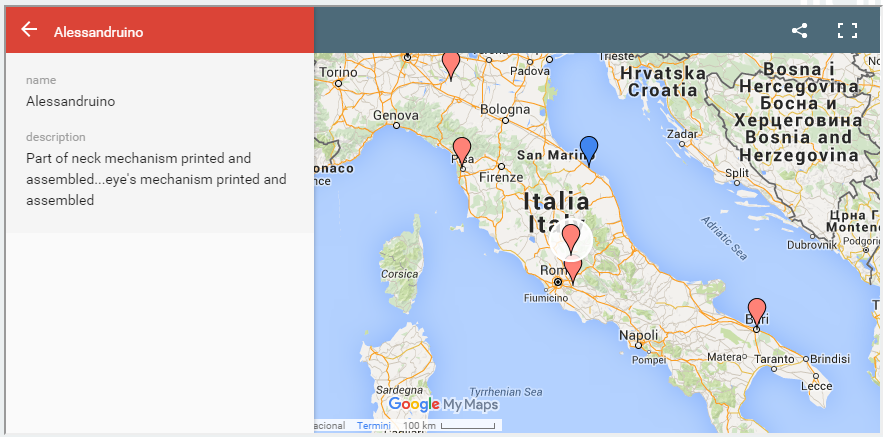
By clicking on each marker you can get the information about each builder along with a short description of his contribution to the project (see Fig.3).
Build your InMoov
Furthermore, in the official website you can also find any instructions on how to make InMoov in all its parts. In fact, to achieve this beautiful robot, nor great skills nor special tools are necessary. The only component really necessary in this kind of project is the passion.
The InMoov robot is designed to be developed component by component. That is, it is possible to develop each of its parts separately, such as a hand, the head, a shoulder, etc. So it is not necessary to build the entire project, but you can engage in any of these components at your choice, focusing on it in a particular way and gradually making improvements, and then eventually publishing them on the site so contributing to the improvement of the project in general. This is a bit the spirit of the project.
To begin to implement the various components of the InMoov project you will need to have, first, the following components:
- a 3D printer with at least one print volume 12x12x12cm
- Arduino Uno and Mega as microcontrollers
- A set of servo motors HK15298B, Hitec HS805BB and MG996
- The MyRobot Lab software
As far as the 3D printing, the site provides all the STL files required to print each component (as shown in Fig.5).

Each of these printable components is well illustrated in the site, and you can download your STL files in a simple and direct way, selecting the desired component.
The material generally used for the printing of these components is PLA (polylactic acid) and ABS (acrylonitrile-butadiene-styrene), which are both thermoplastic polymers commonly used for all extrusors 3D printers, the cost of which is easily accessible.
Once printed, these components may be assembled together by screws or glued directly (with acetone for ABS, and with epoxy2 for PLA). However, the assembly of each part of the InMoov robot is illustrated and explained in detail within the official website.
The Nervo Board
The components building of the InMoov project is not limited to the printing of its mechanical components, but also to the realization of a series of electronic cards intended for the control of various servo motors (servo boards) implementing the movements of the joints of the humanoid robot.
In this regard, Marten de Groot and Leon van der Horst have made a set of boards called Nervo Boards. These boards are designed specifically to handle communication between microcontrollers such as Arduino Uno or Arduino Mega with various servo boards and sensors present in almost every part of the robot.
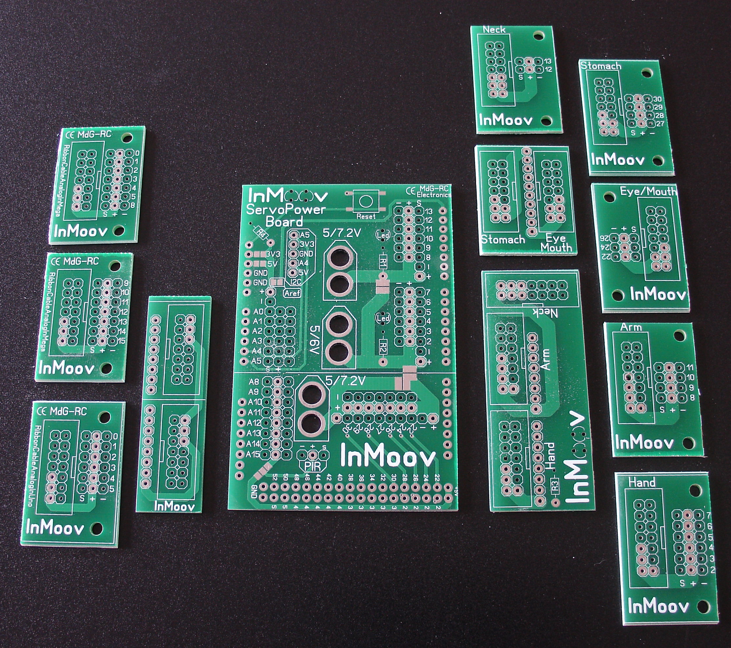
The Nervo Boards kit consists precisely of 11 mini breakout boards with different sizes and of 1 shield board. If you want to make the whole InMoov robot then you will need two boards kit. In addition to these kits you need to buy a corresponding set of components to be soldered on them, and some of them are printable in 3D (or if you prefer, you can buy them directly on the site).
- 1x 3D printable SpacerConnectV1
- 1x 3D printable ShoulderConnectV1
- 3x 3D printable ConnectorV1
- 14x 2.54mm 2×7 Pin 14 Pin Straight Male Shrouded PCB Box header IDC Socket
- 14x 2.54mm Pitch 2×7 Pin 14 Pin IDC FC Female Header Socket Connector FC-14
- 3x 2.54mm 40 Pin Male Single Row Pin Header Strip
- 1x 2.54mm 3×40 Pin 120 Pin Right Angle Male Pin Header Strip
- 1x (up to 3, depending of your power sources and servos)RC XT60 Lipo Battery Connectors
- 1x 3 meters 14 Conductor Ribbon Cable
- 1x Momentary Tactile Tact Red Push Button Switch 5 Pin SMD SMT 6x6x3.7mm
- 4x Led 5v ( Optional, for lighting the InMoov Logo)
- 4x Resistor 470 ohm, yellow,violet,red, gold (Optional, for lighting the InMoov Logo)
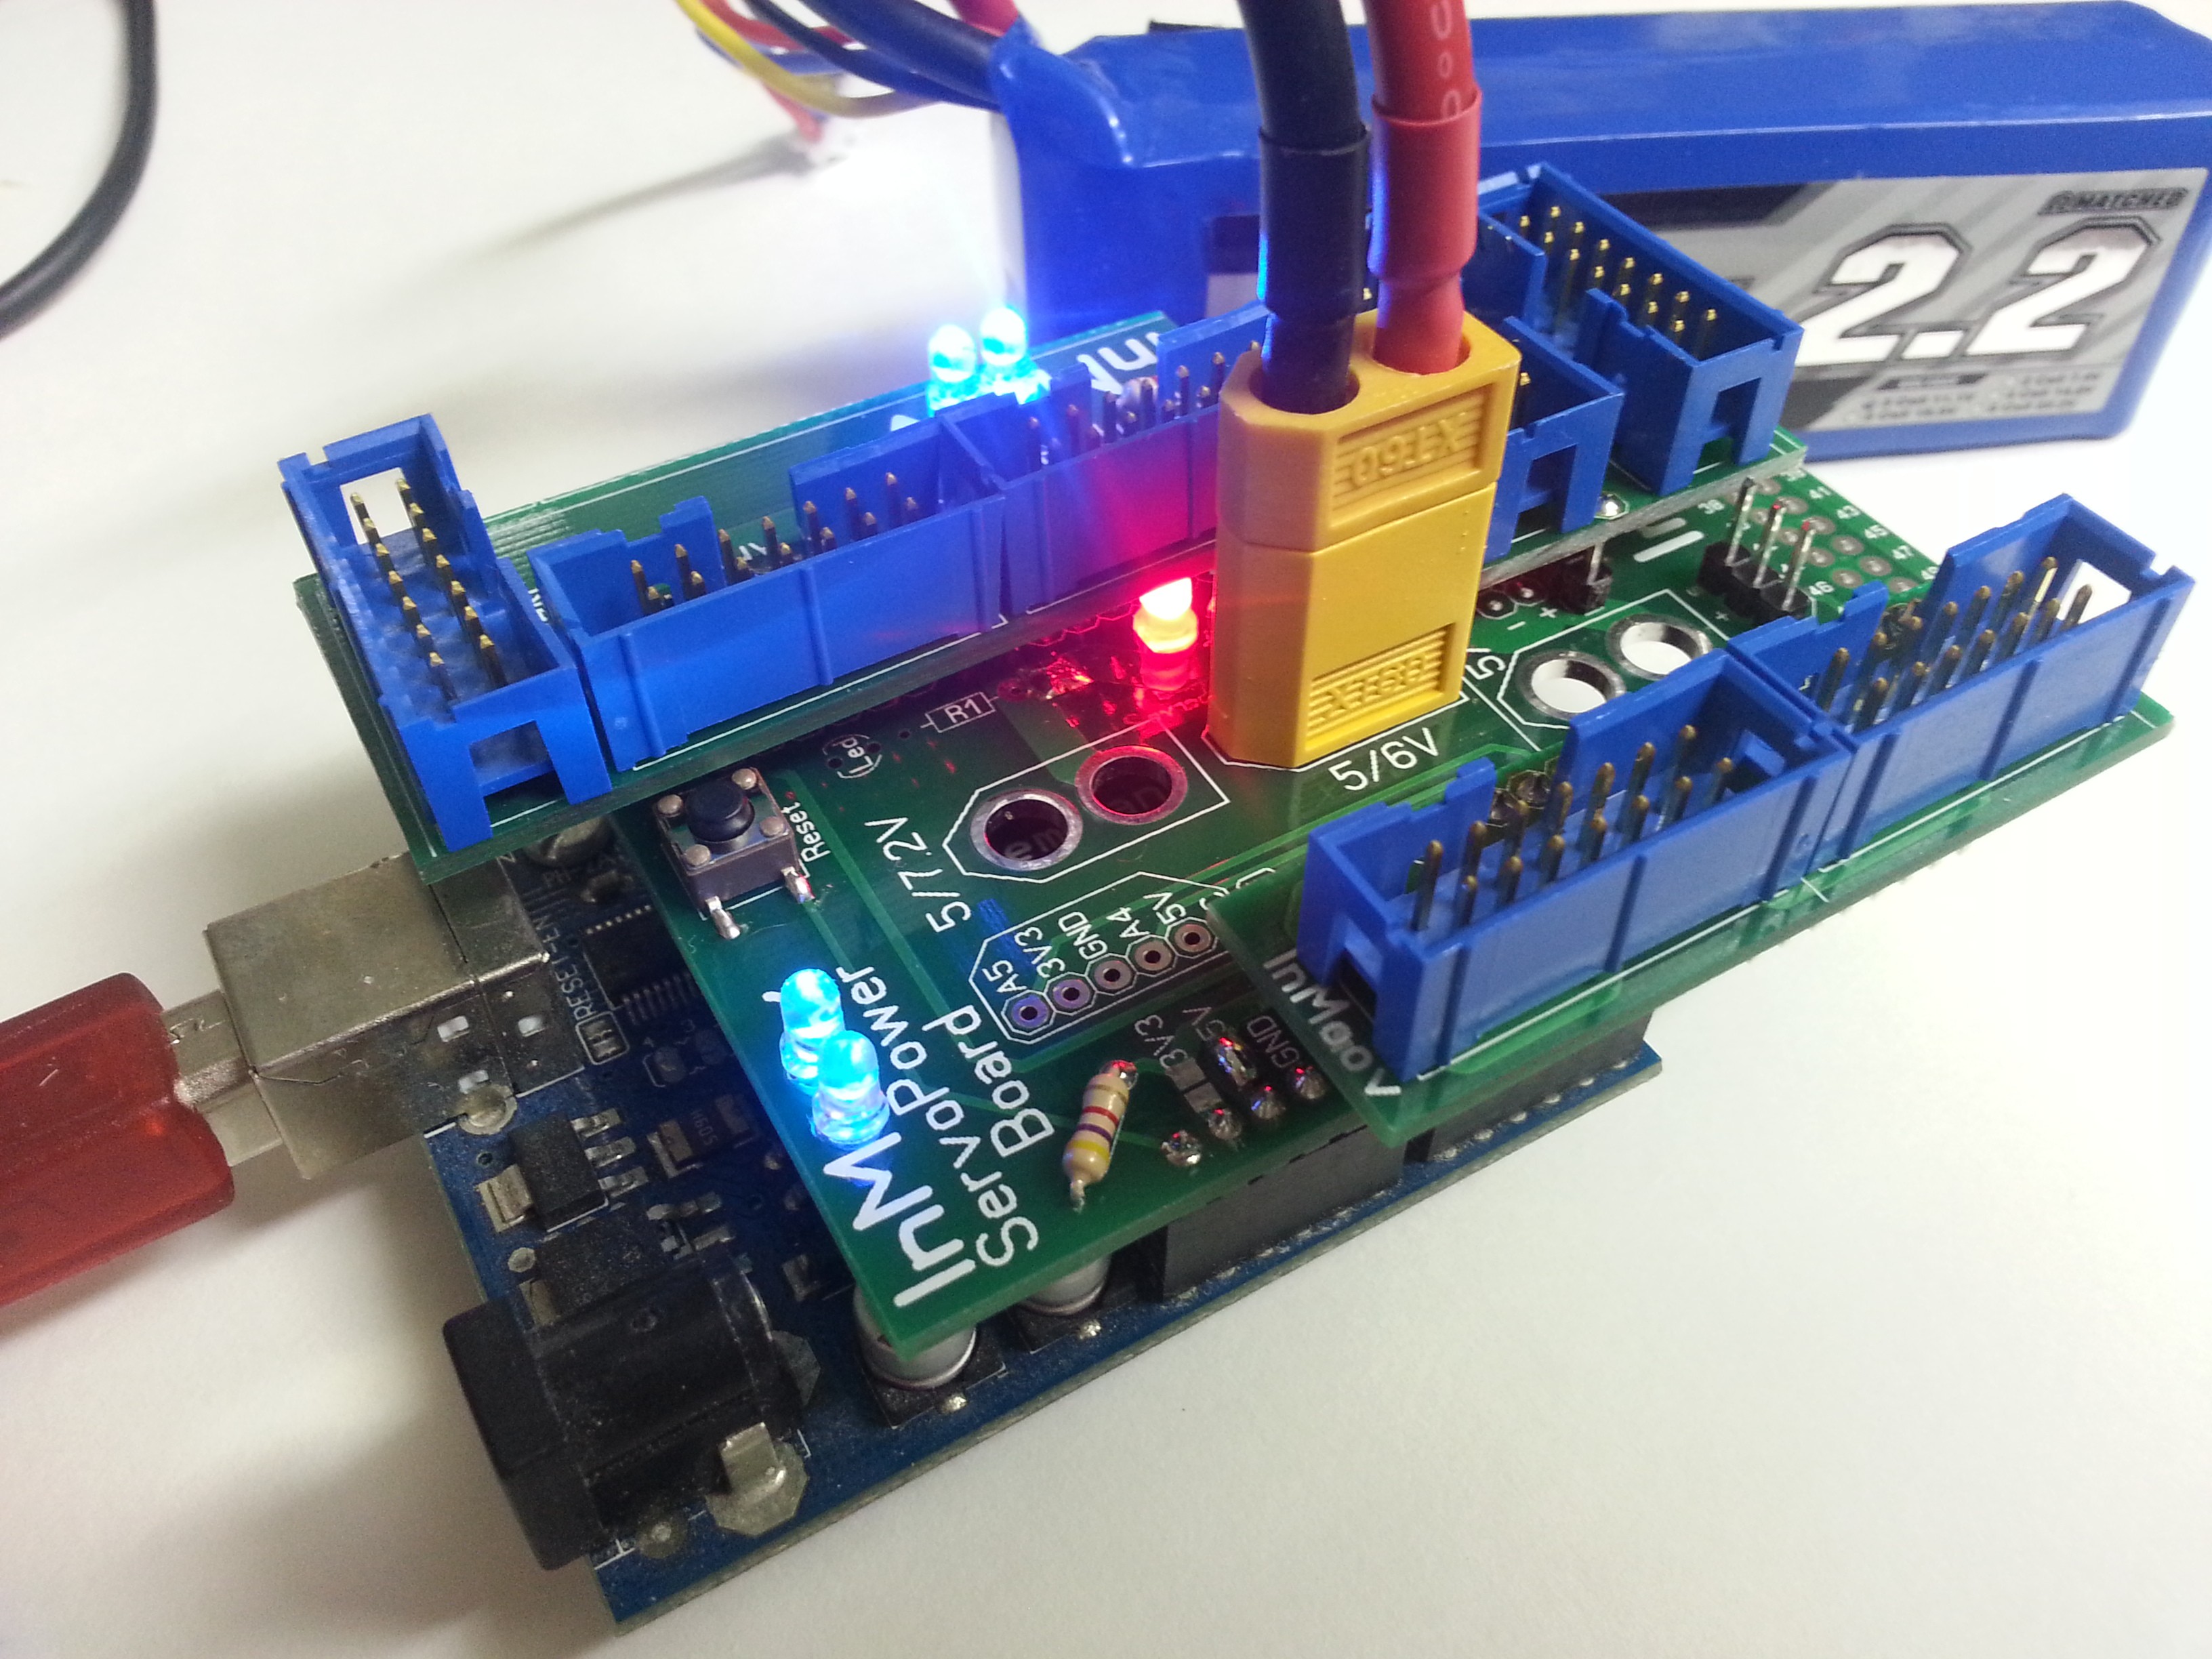
Figure 7 shows the shield boards after you have soldered all the components and then connected to the power supply.
The MyRobotLab software
Regarding the software, the MyRobotLab is the application at the basis of the entire InMoov project. MyRobotLab is an open source framework programmed in Java and designed to be used both in robotics and for other types of automated systems.
This software provides a number of tools that allow you to add at your robotics projects some advanced features:
- machine vision using Javacv/Opencv,
- speech recognition with Sphinx4,
- text to speech with FreeTTS,
- Motor Control,
- Servo control,
- GUI control,
- communication by microcontrollers (Arduino).
Getting started with MyRobotLab (MRL)
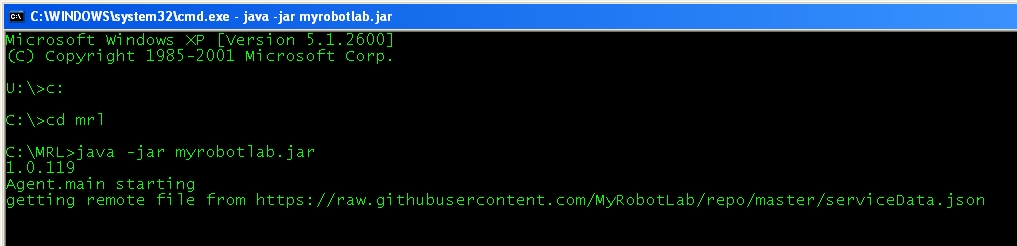
Download the latest release from the official site MyRobotLab. It is a JAR file named myrobotlab.jar.
The create a directory naming it mrl and then put the just downloaded JAR file in it. Start a session by terminal ( cmd on Windows) and finally input the following command:
java -jar myrobotlab.jar
This command will start the downloading and installation of all the components constituting the MyRobotLab software, needed to run the application.
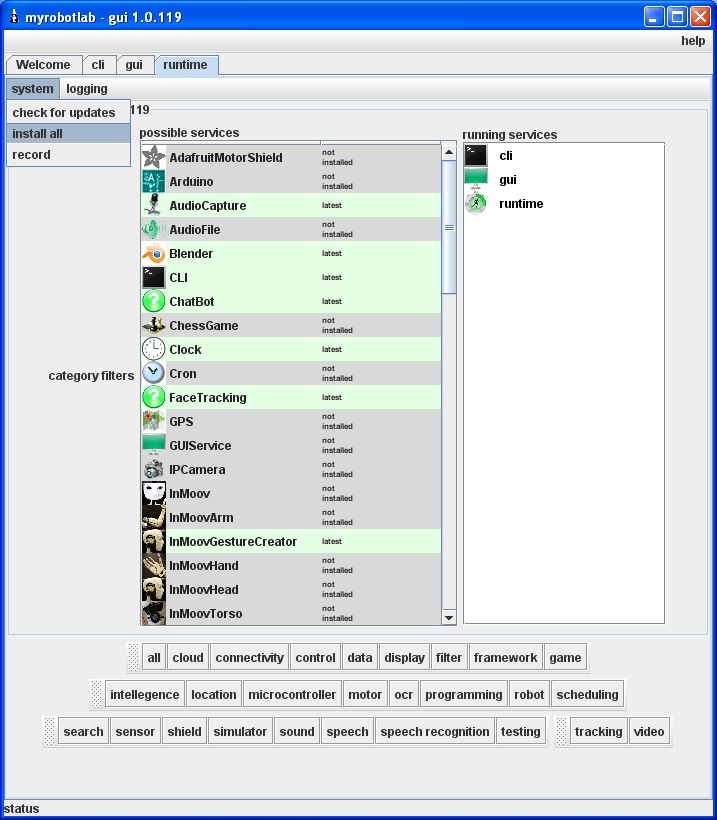
Once the application has been installed on your PC, the MyRobotLab application will start showing the following window. If you select the runtime tab in the menu. you can see all modules which contribute to the control of the various robot components, including many tools and services that increase the InMoov features. From here you can see the status of all modules: gray ones are not installed modules, green are the installed modules. At the right in the white area you can see the list of the modules which are currently active (services). If you want to install all of them, you can select System-> Install All from the menu (see Figure below), otherwise if you wish to install only one module you have to select the desired module by clicking on it, and then with the Context Menu (right mouse button) select Install.
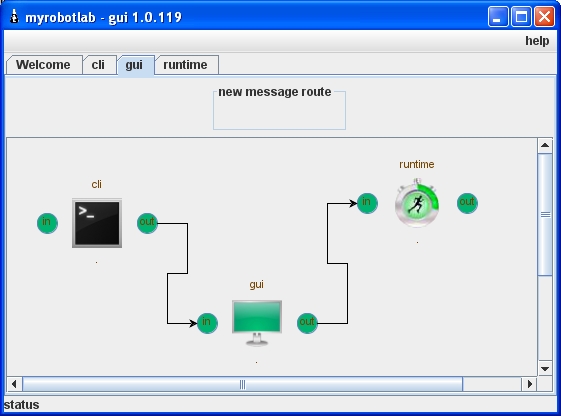
Once all the services you need are activated, you can “program” them graphically by designing a scheme in which you can assign the output data of a service to another service as input.
[:]